Corvette Dash Cluster Removal
Please feel free to copy this set of Removal Instructions. They are here for your use to remove and replace your Cluster. This is the original set of removal instructions from Taber Corvette Parts.
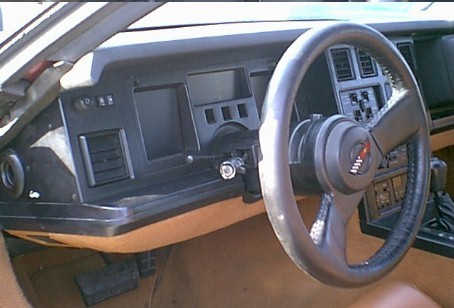
| This photo is the view you see when you open the driver side door on a 1984-1989 Corvette.
|
|
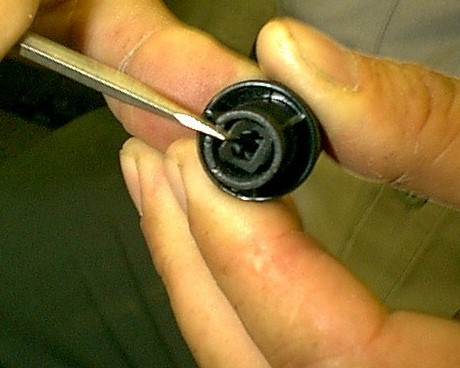
| The first step is to remove the Headlight Switch Knob. The photo is a closeup of the back end of the knob. Using a slender bladed screwdriver, place it in position to release the retaining clip. |
|
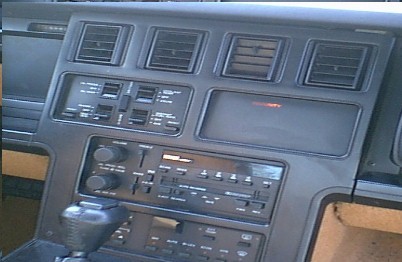
| This picture of the Radio Panel is shown to advise you to loosen this panel in order to gain access to Dash pad retaining screws. You will remove (3) screws under the Cluster bezel and (2) screws under the Radio bezel.The Cluster Bezel is removed after the Headlight Switch knob. Four(4) Phillips on the left end of the bezel and two (2) screws on the right side. | |
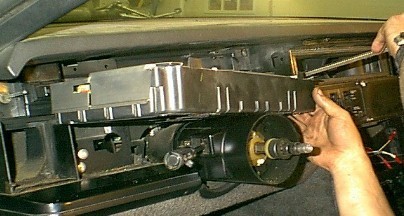
| The following photos were taken with the Steering Wheel removed to gain clarity. You do not remove the Steering Wheel to remove Cluster. This picture shows the area just above the Cluster where the dash pad retaining screws are located. Remove those screws and wedge the dash pad up slightly. |
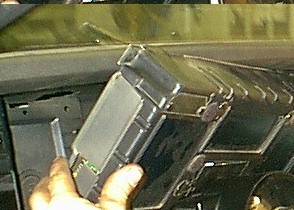
| Now you can tilt the cluster forward and to the left. Position the cluster over the Steering Column as shown. | |
| Disconnecting the dash harness to Cluster connectors is accomplished by lifting the metal security clips with a small screwdriver and wedging the connectors off with a flat blade screwdriver. The Cluster is now free. |
|
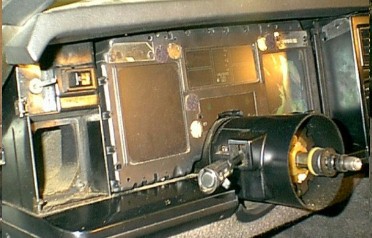
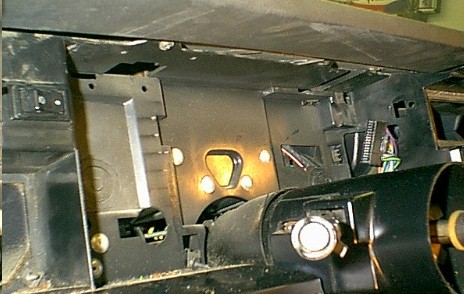
| The photo on the right shows the empty Cluster mounting area. If you click on the image closely you can see the 24 pin and the 32 pin connectors that bring all voltages and all data from the many functions that the Cluster monitors. Reverse this procedure to re-insert the exchanged Cluster. | |
TABER CORVETTE PARTS 812-925-3604
many used corvette parts available on our ebay store
https://www.ebay.com/str/tabercorvetteparts


